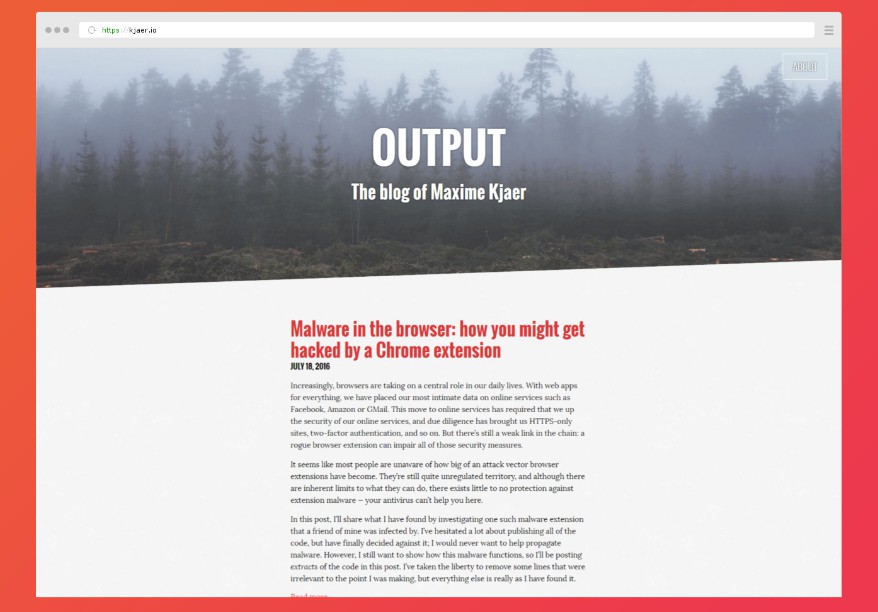
kjaer blog
kjaer personal blog. Built with Jekyll.
Installation
The site builds with Jekyll, but also has a few NPM dependencies. To install all dependencies, you’ll need Node and npm, as well as Ruby and bundler. You can then run:
bundle install
npm install
Writing a post
See the Jekyll Documentation for how to create a Jekyll post.
Supported YAML Frontmatter fields
| Option | Description | Default |
|---|---|---|
title |
The title of the post | |
description |
A brief description of the post. This description may be used by search engines, and will be used when the post is shared on Facebook and Twitter. | site.description |
image |
The hero image | site.hero.image |
fallback-color |
Hex color code of the color (in quotes) that will be shown behind the hero image. This is especially useful if the hero image fails to load, or takes a while to do so. If we show the image’s average color, the flash of the image appearing will be less harsh. I’ve been using Color Thief to get this average color. | site.hero.fallback-color |
comments |
If false, there won’t be a Disqus comment field on the post |
true |
published |
If false, the post won’t be rendered or published |
true |
unlisted |
If true, the post will be published, but won’t be listed in the RSS feed or on the front page |
false |
edited |
If true, there will be a link leading to the post’s GitHub edit history at the bottom of the post |
false |
hn |
If a HN link is specified, there will be a link leading to the HN discussion at the bottom of the post | |
Excerpt separator
On the front page of the site, excerpts of every post are shown. On this site, a post “breaks” on the first HTML comment by default, so the end of the front page’s excerpt can be marked as such in a post:
---
title: How to define excerpts within the post
---

Here's an intro. See you after the break!

<!-- More -->

Here's the rest of the post.
Sample post
---
title: A sample post
image: /images/hero/example.jpg
fallback-color: "#0f45b7"
description: A sample post showing how YAML Frontmatter works on this site.
comments: false
unlisted: true
edited: true
hn: https://news.ycombinator.com/item?id=12114523
---

This post is an example.

<!-- More -->

This is the end of the article!
Building the site
Development
In a development environment, the following command should suffice:
jekyll serve
Production
In production, we’re not serving the site locally, we’re building it. This is done through the following command:
jekyll build
To prepare the site for production, a few additional steps are taken.
- Autoprefixer ensures that all the CSS is compatible with the 2 last versions if every browser
- Hero images are resized to the breakpoints defined in
_config.yml - Assets are Zopfli-compressed
There’s a grunt task set up that handles the first two:
grunt build
The last one is (for now) a simple bash command to the zopfli binary. It would be great to manage this through Grunt though.
zopfli --i1000 $files
Luckily, this is all done automagically with Travis CI. You can see the scripts it runs in the _scripts folder.
Wishlist / Todo :star:
- [ ] Rework
_config.ymlfile to provide more optional switches - [ ] Rework
_config.yml‘s prose.io settings - [ ] Rework 404 page
- [ ] Set up Grunt to take care of Zopfli compression
Looking for Support or Custom Solutions?
We specialize in creating stunning, fully-customized Jekyll websites tailored to your needs.
If you need assistance with setup, customization, or support, don't hesitate to contact us.
CONTACT US
